How to Use 3D Models in Procreate
Procreate is a highly popular drawing app, especially favored by illustrators and digital artists on the iPad. It offers powerful drawing tools and an intuitive interface. However, Procreate is primarily designed for 2D artwork and does not support direct import or manipulation of 3D models. Nonetheless, with some techniques and processes, you can incorporate the effects of 3D models into your creations. This article will guide you on how to use 3D models in Procreate to enhance your artwork.
1. Preparing 3D Models
Choosing the Right 3D Model

Before you begin, you'll need to prepare a 3D model. If you don’t have a ready-made model, you can find suitable resources online. Many platforms offer high-quality 3D models that you can select for your project.
Converting Formats
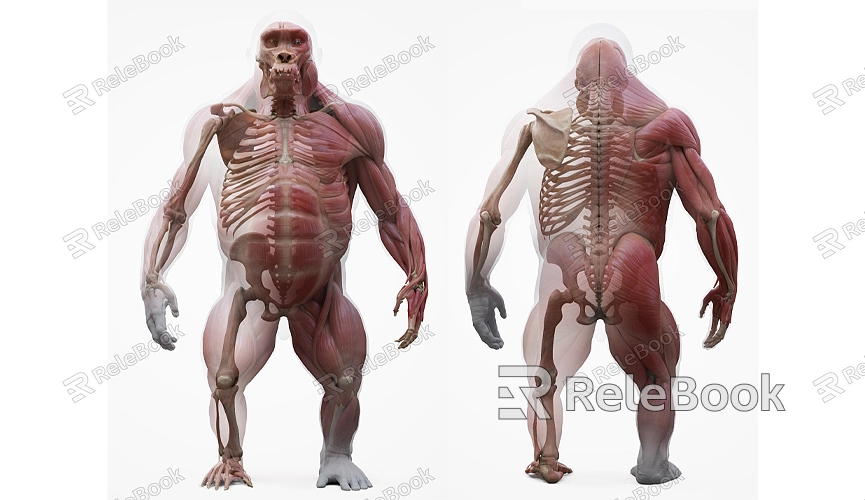
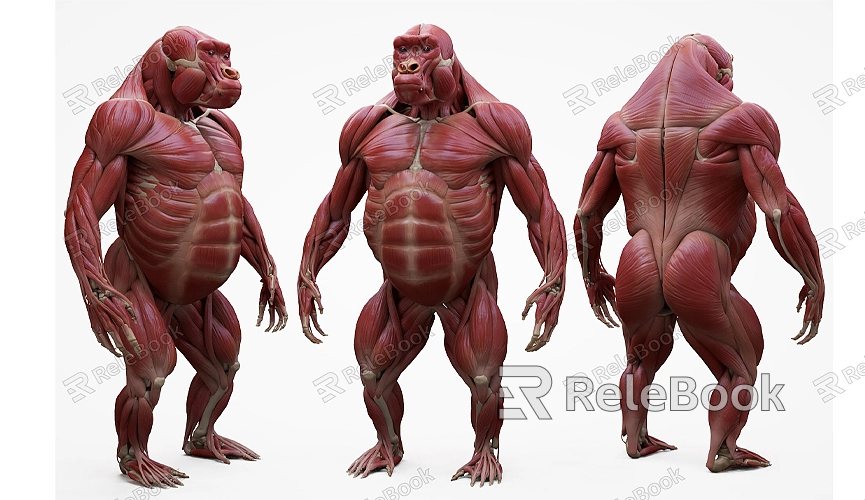
Procreate does not directly support the import of 3D models. Therefore, you need to convert the 3D model into a 2D image format. You can use a 3D viewer or rendering software to render the 3D model into a high-resolution 2D image. Make sure to choose the right angle and lighting effects during rendering for the best visual results.
2. Importing 2D Images into Procreate
Creating a New Canvas
Open the Procreate app and create a new canvas. Choose an appropriate canvas size and resolution, as this will affect your subsequent drawing and editing work.
Importing the Image
1. Select Import Option: In Procreate’s toolbar, tap the “Actions” button (gear icon), then select “Insert a Photo.”
2. Choose the Image File: Browse to locate your saved 2D rendered image and select the file you want to import.
3. Adjust the Image: Resize and position the imported image as needed. You can use Procreate’s transformation tools to precisely adjust the image’s size and angle.
3. Editing and Enhancing the 2D Image
Using Layer Functionality
Procreate’s layering feature is very powerful, allowing you to edit and paint further on the 2D image. Place the imported 3D rendered image on a separate layer so that you can edit it without affecting the original image.
1. Add Details: Use various brush tools to add shadows, highlights, and details, making the image appear more layered and three-dimensional.
2. Draw Background and Foreground: Depending on your creative needs, you can paint backgrounds and foregrounds on different layers to enhance the overall effect.
Applying Filters and Effects

Procreate offers a variety of filters and effects that you can use to further beautify your image. Experiment with different filter effects, such as blur, sharpen, and color adjustments, to achieve the desired visual outcome.
4. Exporting and Sharing
Exporting Your Final Work
After completing your edits, you can export your final work in various formats. Tap the “Actions” button, select “Share,” and then choose the appropriate export format, such as PNG or JPEG.
Sharing Your Work
Once exported, you can share your work on social media, your personal website, or other platforms to showcase your creations to a wider audience.
5. Finding More Resources
If you need high-quality 3D textures and HDRIs for creating models and virtual scenes, you can download them for free from [Relebook](https://textures.relebook.com/). If you're looking for beautiful 3D models, you can also find them on [Relebook](https://3dmodels.relebook.com/), which provides a wealth of premium 3D resources.
Although Procreate is primarily a 2D drawing tool, you can still leverage 3D models in your artwork by rendering them into 2D images. By mastering how to import, edit, and enhance 2D images in Procreate, you can add more depth and dimension to your digital art. I hope this guide helps you effectively use 3D models in Procreate to elevate your creative work.

